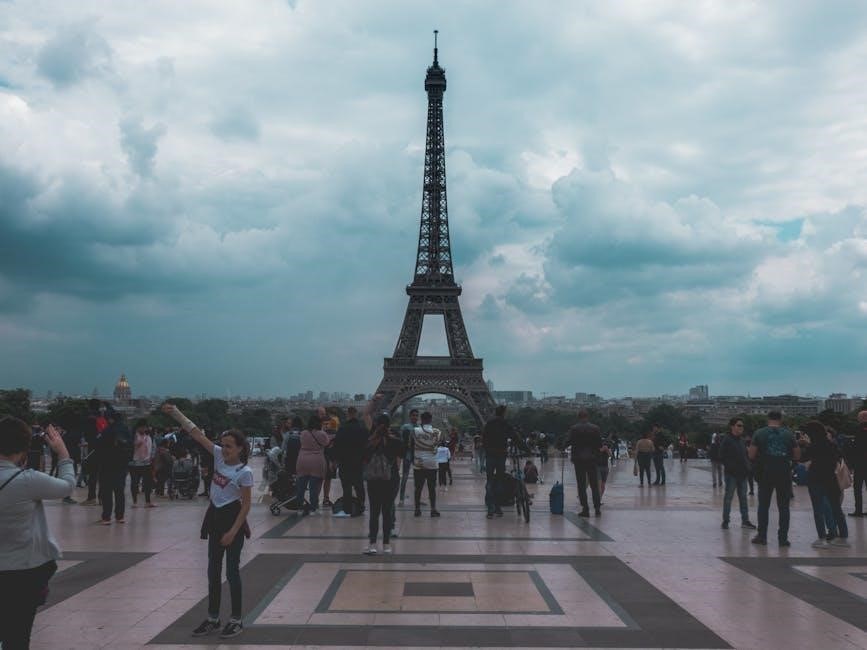
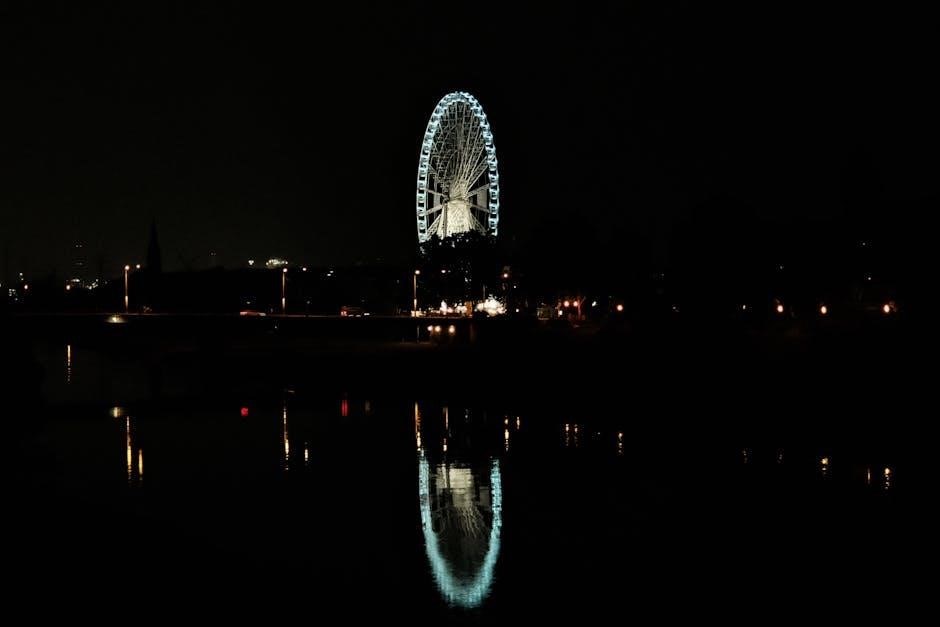
Exploring parks after dark offers a magical atmosphere, with unique public art creating vibrant experiences, perfect for stargazing and adventure, while ensuring safety and awareness.
1.1 Why Parks Are Magical at Night
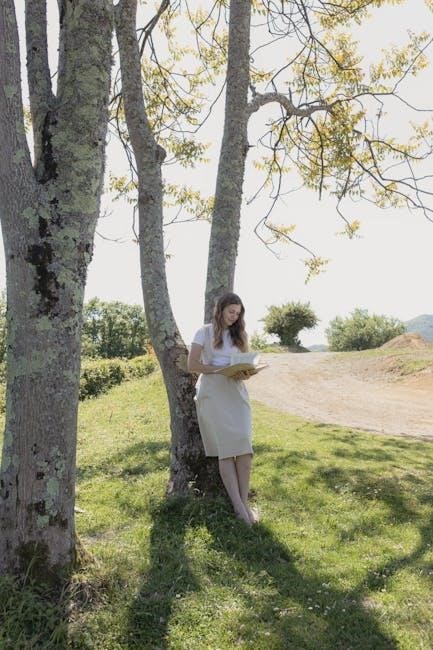
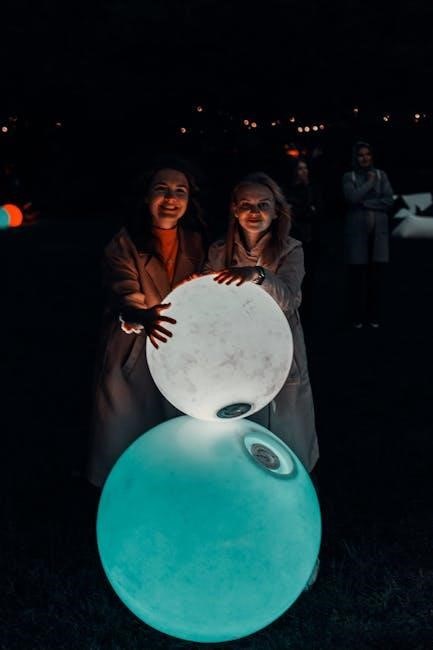
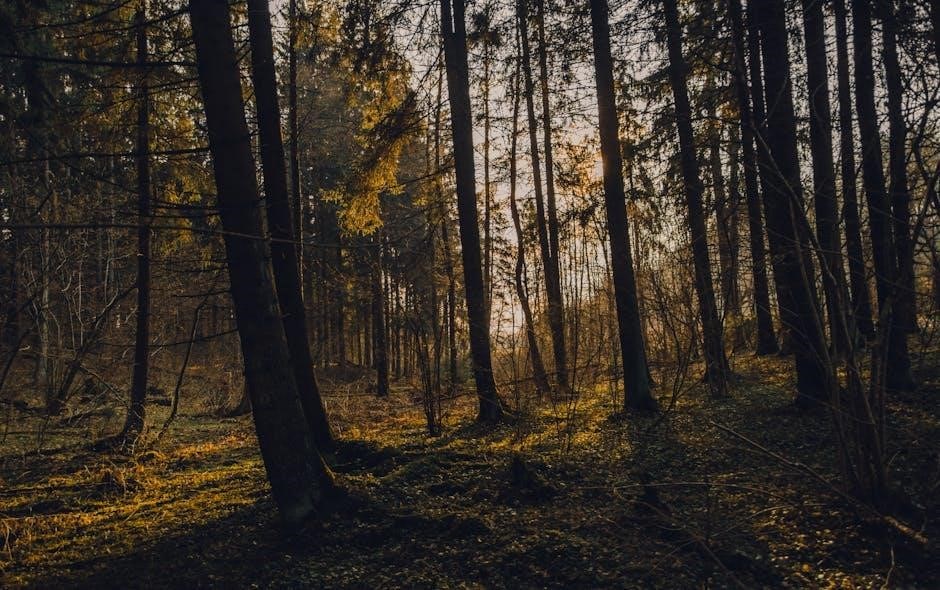
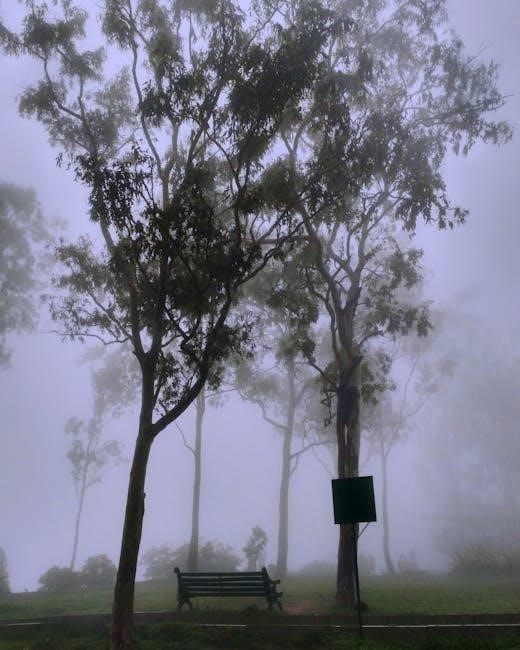
Parks transform into enchanting spaces after dark, offering a serene escape from daytime hustle. The soft glow of lighting, combined with the sounds of nocturnal wildlife, creates a mystical ambiance. Unique public art installations often come alive at night, adding vibrancy and fostering connections. Stargazing opportunities emerge, allowing visitors to appreciate the night sky’s beauty. The quiet atmosphere encourages reflection and a deeper connection with nature. Nighttime visits provide a fresh perspective, making parks feel like entirely new destinations, perfect for adventure and tranquility alike. This magical setting invites exploration, photography, and unforgettable experiences, making nighttime park visits truly special.
1.2 Key Considerations for Nighttime Visits
Planning a nighttime park visit requires attention to safety, legality, and environmental respect. Always check park hours and curfews, as many close at night. Carry essential gear like flashlights, maps, and first aid kits. Weather preparations are crucial; dress appropriately and monitor conditions. Be aware of wildlife activity, avoiding attracting animals with food. Respect park rules, such as bans on camping or campfires, unless permitted. Stay informed about specific regulations for after-dark visits. Ensuring preparedness and adherence to guidelines ensures a safe and enjoyable experience while preserving the park’s natural beauty for future visitors. Awareness and responsibility are key to a magical night.
Safety Tips for Park Visits After Dark
Staying safe after dark involves carrying a flashlight, first aid kit, and staying alert; Avoid risky paths and maintain visibility to ensure a secure visit always.
2.1 General Safety Precautions
When visiting parks after dark, prioritize your safety by staying aware of your surroundings. Carry a reliable flashlight and ensure your phone is fully charged. Avoid walking alone in poorly lit areas and stick to designated paths. Inform someone about your plans, including your expected return time. Be cautious of uneven terrain and potential hazards that may be harder to see at night. Avoid distractions like using headphones, as they can reduce your ability to hear approaching dangers. Always keep a first aid kit handy and know the location of emergency exits or gathering points. Stay vigilant and trust your instincts if a situation feels unsafe.
2.2 Essential Safety Gear to Carry
When visiting a park after dark, it’s crucial to carry essential safety gear. A reliable flashlight with extra batteries ensures visibility in low-light conditions. Bring a fully charged smartphone with a portable charger for emergencies. Wear reflective clothing or accessories to increase visibility. Carry a first aid kit equipped with basic supplies like band-aids, antiseptic wipes, and pain relievers. Include a whistle to signal for help if needed. A compact multi-tool or pocket knife can assist with unexpected tasks. Additionally, bring a map of the park, even if using GPS, and inform someone about your itinerary. These items enhance safety and preparedness during nighttime visits.
2.3 StayingAware of Your Surroundings
2.3 Staying Aware of Your Surroundings
Staying aware of your surroundings is vital when visiting parks after dark. Trust your instincts and avoid areas that feel unsafe. Keep an eye on your environment, watching for obstacles like uneven trails or wildlife. Avoid distractions like headphones, as they can reduce your awareness of noises or movements around you. Maintain a safe distance from strangers and be cautious of overly curious animals. Always carry a light source, such as a flashlight, to illuminate your path. Stay on designated trails to avoid getting lost or injured. Let someone know your plans and expected return time to ensure help is available if needed.
Navigating the Park in the Dark
Navigating parks at night requires using GPS and maps effectively, carrying reliable lighting, and understanding the park’s layout and trails to ensure safe and enjoyable exploration.
3.1 Using GPS and Maps Effectively
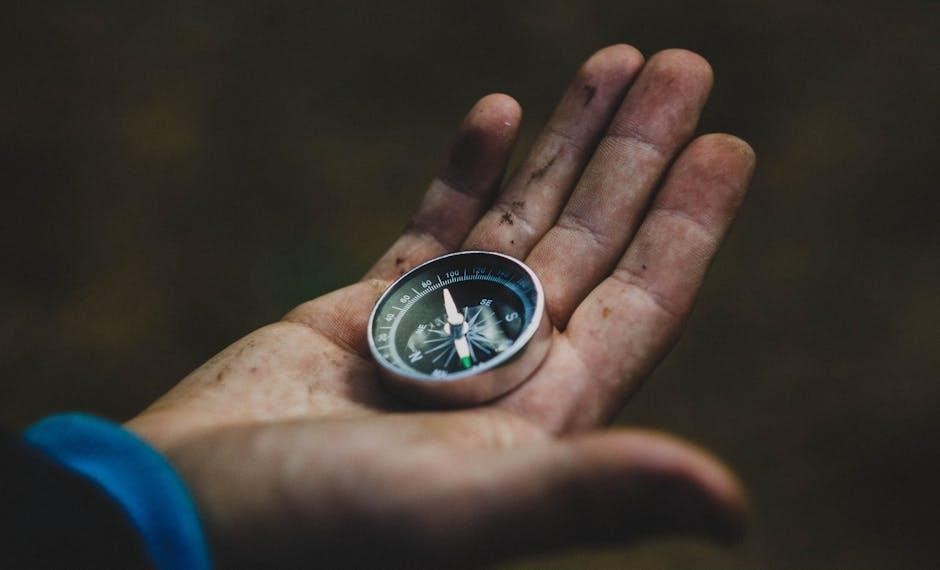
Using GPS and maps effectively is crucial for navigating parks after dark. Download offline maps to ensure access without internet connectivity. Plan your route in advance, marking key landmarks like parking areas and restrooms. Use GPS to locate trails and avoid getting lost. Consult park maps or visitor guides for trail closures and updates. Carry a backup physical map and compass as GPS signals may weaken in remote areas. Familiarize yourself with the park’s layout to move confidently. Ensure your devices are fully charged or carry a portable charger. Proper navigation tools help you stay safe and enjoy the park’s nighttime beauty without stress.
3.2 Carrying Reliable Lighting
Carrying reliable lighting is essential for navigating parks after dark. Bring a durable flashlight or headlamp with extra batteries to ensure visibility. LED lights are ideal for their brightness and long battery life. Consider a red light mode to preserve night vision for stargazing. A backup light source, like a small lantern or glowstick, adds safety. Motion-sensitive lights can also be useful for hands-free navigation. Proper lighting helps you avoid obstacles, spot trails, and enjoy activities like nighttime photography or wildlife spotting. Always test your lights before heading out to ensure they are in good working condition for a safe and enjoyable experience.
3.3 Understanding Park Layout and Trails
Understanding the park layout and trails is crucial for a safe and enjoyable nighttime visit. Study maps or guides beforehand to familiarize yourself with trail markers, landmarks, and potential shortcuts. Use GPS apps or park-provided navigation tools to stay on track. Pay attention to trail signs and difficulty levels, as some paths may be less visible in the dark. Stick to well-lit and marked trails to avoid getting lost. Be aware of trail closures or restrictions, especially at night. Knowledge of the park’s layout helps you navigate confidently, ensuring a smooth and stress-free experience while exploring after dark.
Nighttime Activities in the Park
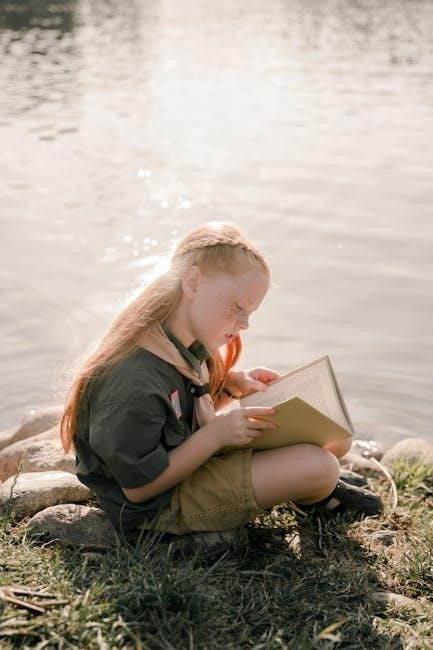
Engage in stargazing, nighttime walking, photography, and wildlife spotting. These activities offer unique experiences, blending adventure with relaxation under the park’s enchanting evening atmosphere.
4.1 Stargazing and Astronomy
Stargazing in parks after dark is a magical experience, offering a chance to connect with the universe. Parks often have less light pollution, making stars more visible. Bring binoculars or a telescope to enhance your view. Identify constellations using apps or star charts. Ideal conditions are clear skies and low moonlight. Many parks host astronomy events or guided stargazing sessions. This activity fosters a sense of awe and wonder, perfect for both beginners and experienced stargazers. It’s a great way to unwind and appreciate nature’s beauty from a unique perspective, creating lasting memories under the night sky.
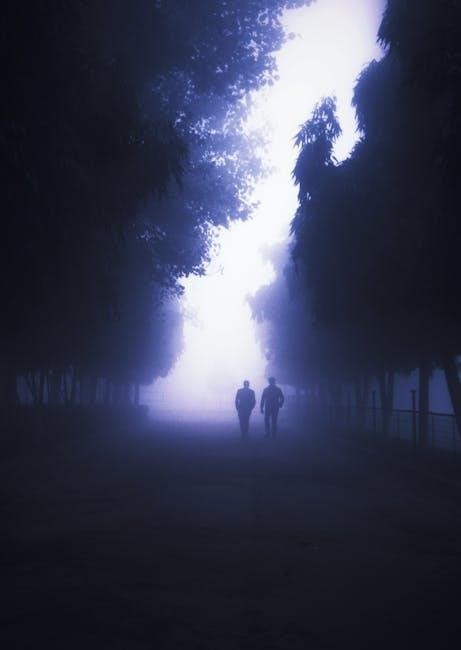
4.2 Nighttime Walking and Hiking
Nighttime walking and hiking in parks offer a unique way to experience nature. The peaceful atmosphere, cooler temperatures, and fewer crowds make it ideal for those seeking tranquility. Carry a reliable flashlight or headlamp to navigate trails safely. Wear reflective clothing and stay alert to avoid tripping hazards. Many parks have well-marked trails for nighttime use, ensuring an enjoyable experience. Listen for nocturnal wildlife, adding a magical dimension to your walk. This activity is perfect for connecting with nature while avoiding the daytime heat, providing a refreshing and memorable adventure under the stars.
4.3 Photography Tips for Low Light
Capturing stunning photos in low-light conditions requires technique and patience. Use a tripod to stabilize your camera, reducing blur from hand movement. A wide aperture and slower shutter speed can enhance light capture, but be cautious of overexposure. Take advantage of the golden hour or blue hour for vibrant skies. Experiment with manual focus, as autofocus may struggle in darkness. Shoot in RAW format to preserve detail and adjust settings later. Look for interesting silhouettes or reflections, and don’t hesitate to use long exposures for creative effects like star trails. These tips will help you make the most of your nighttime photography adventure.
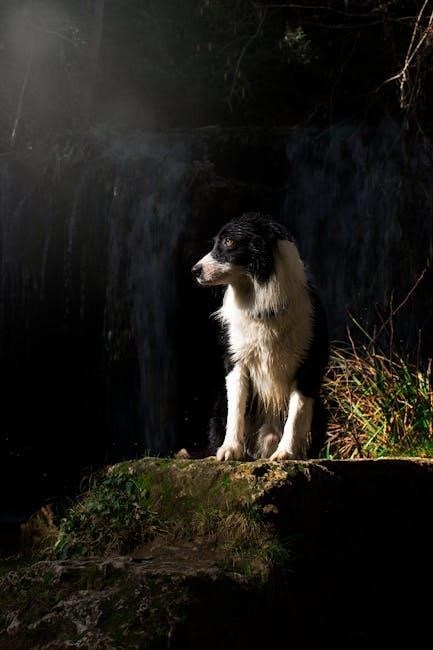
4.4 Spotting Nocturnal Wildlife
Spotting nocturnal wildlife can be a thrilling experience when visiting parks after dark. Many animals, such as owls, raccoons, and bats, become active at night. To increase your chances of spotting wildlife, move quietly and use a flashlight sparingly to avoid startling them. Look for reflective eyes in the dark or listen for unusual sounds. Avoid feeding or approaching wildlife, as this can disrupt their natural behavior. Carry binoculars for observing from a distance and consider bringing a field guide to identify species. Patience and awareness are key to enjoying these unique encounters with nature’s nocturnal creatures.
Etiquette for Nighttime Park Visits
Respect other visitors, keep noise levels low, and avoid disrupting wildlife. Carry out all trash and leave the park as you found it for others to enjoy.
5.1 Respecting Other Visitors
Respecting other visitors ensures a harmonious experience for everyone. Keep noise levels low to avoid disturbing others and wildlife. Avoid using bright lights that might disrupt stargazing or photography. Be mindful of shared spaces, such as trails and seating areas, and yield to others when necessary. Refrain from disruptive behavior, like loud music or shouting, which can ruin the peaceful ambiance. Always clean up after yourself and dispose of trash properly. By being considerate, you help maintain a positive environment for all park-goers, fostering a sense of community and mutual enjoyment of the park’s nighttime beauty.
5.2 Keeping Noise Levels Down
Keeping noise levels down is essential for maintaining the serene atmosphere of the park after dark. Loud noises can disturb wildlife, disrupt stargazing, and annoy other visitors. Refrain from playing music without using headphones and avoid shouting or engaging in loud conversations. Be mindful of rustling bags, rattling gear, or other sounds that might break the tranquility. By minimizing noise, you help preserve the peaceful environment, allowing everyone to enjoy the park’s natural beauty and nightlife without interruptions. Remember, silence enhances the magical experience of being in the park after dark.
5.3 Leaving No Trace
Leaving no trace ensures parks remain pristine for future visitors. Carry all trash, including food wrappers and bottles, and dispose of them properly. Avoid littering, as it harms wildlife and the environment. Refrain from removing plants, rocks, or wildlife, as this disrupts the ecosystem. Keep natural objects in their place to preserve the park’s integrity. Stay on designated trails to prevent erosion and avoid trampling vegetation. By taking these steps, you help maintain the park’s beauty and biodiversity, ensuring others can enjoy the same experience. Remember, leaving no trace is a shared responsibility for all park visitors.

Legal and Regulatory Considerations
Know park rules, hours, and curfews to avoid legal issues. Ensure you have necessary permits for activities like camping or special events. Respect all regulations for a safe visit.
6.1 Park Hours and Curfews
Most parks have specific hours of operation, and visiting after dark may require adherence to posted curfews. Many parks close at dusk or by 10 PM, and staying beyond these times can result in fines or legal consequences. Always check the park’s official website or contact local authorities to confirm operating hours. Some parks may offer extended hours for special events or seasonal activities, while others may remain closed entirely after sunset. Planning your visit according to these regulations ensures a smooth and lawful experience, avoiding unnecessary encounters with park rangers or law enforcement.
6.2 Permits and Permissions Needed
Visiting parks after dark often requires obtaining the necessary permits or permissions, especially for activities like camping, group events, or commercial photography. Check with park authorities to determine if a permit is needed for your planned activities. Some parks require advance registration for nighttime access, while others may restrict certain activities altogether. Failure to obtain required permits can result in fines or being asked to leave the premises. Always verify the specific rules and regulations for the park you plan to visit to ensure compliance and avoid legal issues during your nighttime excursion.
6.3 Specific Rules for After Dark
Parks often have specific rules for nighttime visits to ensure safety and preserve the environment. These may include restrictions on flash photography, prohibitions on loud noise, and limits on group sizes. Some parks may also have designated trails or areas closed after dark to protect sensitive habitats or wildlife. Additionally, rules may prohibit camping, cooking, or open fires without proper authorization. It’s essential to familiarize yourself with these regulations, as they are enforced to maintain both visitor safety and environmental integrity. Always check the park’s official guidelines before planning your nighttime visit to avoid unintentional violations.

Wildlife and Park After Dark
Nightly visits offer unique opportunities to observe nocturnal animals like owls and raccoons. Be mindful of wildlife behavior and avoid attracting them with food or noise.
7.1 Nocturnal Animals You Might Encounter
Visiting parks after dark allows you to encounter fascinating nocturnal wildlife. Common sightings include owls, raccoons, and possums, which are most active at night. Hedgehogs, bats, and skunks may also appear, blending into the shadows. These animals thrive in low-light conditions, offering unique opportunities for observation. To maximize your experience, move quietly and use a flashlight sparingly to avoid startling them. Parks at night become a habitat for creatures rarely seen during the day, making each visit a chance to connect with nature’s hidden world.
7.2 Avoiding Attracting Wildlife
To minimize interactions with wildlife, keep food and trash securely stored in sealed containers. Avoid feeding animals, as this can make them dependent on humans.Keep noise levels low and refrain from sudden movements, which can disturb nocturnal creatures. Properly dispose of waste to prevent attracting pests like raccoons or rodents. Pets should be kept on a short leash to avoid provoking wildlife. By maintaining a clean and quiet environment, you reduce the likelihood of attracting animals, ensuring a safe and enjoyable experience for both you and the park’s inhabitants. Respect wildlife boundaries to preserve their natural behaviors and habitats;
7.3 Handling Unexpected Encounters
Stay calm and composed during unexpected wildlife encounters. Maintain a safe distance to avoid provoking animals. For nocturnal creatures like owls or foxes, slowly back away without sudden movements. Keep pets and children close to prevent them from triggering an animal’s defensive instincts. Avoid direct eye contact, as this can be perceived as a threat. If an animal approaches, use noise-making devices to deter it without harming it. Carry a flashlight to illuminate your surroundings and make yourself appear larger. Never run, as this can instigate a chase. Prioritize your safety while respecting the animal’s space, ensuring a peaceful resolution for both parties.
Weather Considerations
Check forecasts beforehand, dress in layers, and carry rain gear. Nighttime weather can be unpredictable, so prepare for temperature drops and potential rain to stay safe and comfortable.
8.1 Preparing for Nighttime Weather
Always check the weather forecast before heading to the park at night. Dress in layers to adapt to changing temperatures, as evenings can be cooler. Bring rain gear, such as a waterproof jacket or umbrella, to stay dry in case of unexpected showers. Use a reliable weather app to stay informed about potential storms or temperature drops. Carry a small flashlight or lantern to navigate safely if visibility is reduced due to fog or rain. Avoid visiting during severe weather warnings, and ensure you have a plan to seek shelter if conditions deteriorate. Preparation is key to enjoying a safe and comfortable experience.
8.2 Dressing Appropriately
Dressing appropriately for a nighttime park visit is essential for comfort and safety. Opt for breathable, layered clothing to adjust to changing temperatures. Choose dark or neutral colors to blend in and avoid attracting wildlife. Wear sturdy, comfortable shoes or hiking boots for uneven terrain. Add a waterproof jacket or poncho in case of rain. Consider moisture-wicking fabrics to stay dry and warm. Bring a hat, gloves, and scarf for colder nights. Ensure your clothing allows freedom of movement for walking or hiking. Finally, check the weather forecast beforehand to prepare for specific conditions, such as fog or wind;
8.3 Handling Unexpected Weather Changes
Nighttime weather can be unpredictable, so it’s crucial to be prepared for sudden changes. Always check the forecast before your visit, but carry a waterproof jacket or poncho just in case. If rain or fog rolls in, slow your pace and use a flashlight to maintain visibility. In cold conditions, layering clothing can help regulate body temperature. Bring an extra blanket or emergency shelter if camping. Stay alert for signs of storms, such as strong winds or lightning, and seek shelter immediately if conditions worsen. Knowing the location of park shelters or sheltered areas can be lifesaving. Be prepared and stay safe! Stay informed
Camping in the Park After Dark
Camping after dark offers a serene experience under the stars. Ensure safety by setting up camp in well-lit areas and securing food to avoid wildlife attraction. Be prepared for weather changes and use reliable lighting to navigate. Always follow park regulations and guidelines for a safe and enjoyable stay. Bring essential supplies like warm clothing, emergency shelter, and a first-aid kit to handle unexpected situations. Stay alert and enjoy the peaceful ambiance of the park at night, creating memorable experiences while ensuring your safety and the environment’s preservation. Proper planning is key to a successful nighttime camping adventure.
9.1 Setting Up Camp at Night
Setting up camp after dark requires careful planning and attention to detail. Arrive early to secure a spot with good visibility and proximity to amenities. Use reliable lighting, such as LED lanterns, to navigate and assemble your tent. Organize your gear to avoid tripping hazards and ensure everything is easily accessible. Secure food and trash properly to prevent wildlife attraction. Follow park guidelines for campsite selection and noise levels. Check the weather forecast and prepare for potential changes. Bring warm clothing and emergency supplies, as temperatures can drop significantly at night. Efficient setup ensures a safe and enjoyable camping experience. Be mindful of other campers and maintain a quiet environment to preserve the natural ambiance. Proper preparation is key to a successful nighttime camping adventure.
9.2 Campfire Safety and Regulations
Campfire safety is crucial when visiting parks after dark. Always check local fire restrictions and use designated fire pits. Keep water or sand nearby to extinguish flames. Monitor fire size and avoid leaving it unattended. Fully extinguish fires before leaving, ensuring ashes are cool to the touch. Respect park rules regarding fire permits and banned materials. Remember, campfires can pose significant risks, so adherence to regulations is essential for protecting the environment and ensuring visitor safety. Never ignore fire bans, as they are implemented to prevent wildfires. Properly managing campfires helps preserve natural spaces for future visitors.
9.3 Securing Food and Trash
Properly securing food and trash is vital when camping in parks after dark. Store food in airtight containers and keep them away from your campsite to avoid attracting wildlife. Use bear-proof containers if required by park regulations. Dispose of trash in designated bins and never leave it out overnight. Keep a clean campsite to prevent pests and nocturnal animals from being drawn to your area. Always follow park rules regarding waste disposal to maintain a safe and respectful environment. Securing food and trash not only protects wildlife but also ensures a pleasant experience for all campers.
Emergency Preparedness
Always carry a first aid kit and know emergency contact numbers. Be prepared to handle injuries or accidents promptly, ensuring safety and quick response in the dark.
10.1 First Aid and Emergency Supplies
A well-stocked first aid kit is essential for nighttime park visits. Include bandages, antiseptic wipes, pain relievers, and any personal medications. Carry a flashlight, extra batteries, and a map to navigate. Ensure your phone is fully charged and consider a portable charger. Keep emergency contact numbers handy, such as park rangers or local authorities. Familiarize yourself with basic first aid techniques to handle minor injuries. Always secure your supplies in an easily accessible location. Being prepared helps prevent small issues from escalating and ensures a safer, more enjoyable experience in the dark. Remember, safety is paramount in low-light conditions.
10.2 Knowing Emergency Contact Numbers
Having emergency contact numbers readily available is crucial when visiting parks after dark. Save the park ranger station, local police, and ambulance services in your phone. If traveling internationally, include the embassy or consulate number. Program important contacts like family or friends who can assist in emergencies. Ensure your phone is fully charged, and consider carrying a portable charger. In areas with poor signal, note down numbers on paper. Knowing who to call can save time during critical situations. Always share your plans with someone before heading out. Preparedness ensures quick responses and enhances safety in low-light environments.
10.3 Dealing with Injuries or Accidents
When injuries or accidents occur during a nighttime park visit, stay calm and act quickly. Assess the situation to determine the severity of the injury. Provide basic first aid, such as cleaning wounds, applying bandages, or using antiseptic wipes. For sprains or breaks, stabilize the injured limb with a splint. Control bleeding by applying direct pressure. If the injury is severe, call emergency services immediately. Carry a first aid kit with essentials like gloves, gauze, and pain relievers. If someone is unconscious, check for breathing and begin CPR if necessary. Always prioritize getting professional medical help as soon as possible.
Capturing the Experience
Capturing your park adventure after dark involves photography tips, videography techniques, and sharing memorable moments responsibly on social media to inspire others while preserving the environment.
11.1 Photography and Videography Tips
Capturing the beauty of parks after dark requires specific techniques. Use a tripod for stability in low light, and manually adjust camera settings for crisp photos. For videography, shoot in 4K with a slower frame rate to capture smooth motion. Experiment with long exposures to highlight star trails or movement. Avoid overusing flash to preserve the natural ambiance. Focus on unique subjects like constellations, glowing pathways, or nocturnal wildlife. Edit photos subtly to maintain authenticity, and consider time-lapse videos for dynamic scenes. Always follow park rules and minimize light pollution to respect the environment and other visitors.
11.2 Sharing Your Experience on Social Media
Sharing your nighttime park adventures on social media can inspire others and create a sense of community. Use relevant hashtags like #ParksAfterDark or #NighttimeExploration to increase visibility. Post high-quality photos or videos that capture the unique ambiance, such as starry skies or illuminated trails. Include captions that tell the story of your visit, highlighting memorable moments or tips for others. Tag the park’s official account to engage with their community. Consider sharing time-lapse videos or creative edits to showcase your experience artistically. By sharing responsibly, you can promote the beauty of parks after dark while encouraging others to explore thoughtfully.
11.3 Documenting Your Visit Responsibly
Documenting your park visit responsibly ensures the preservation of natural and cultural spaces. Avoid sharing sensitive location details that could attract overcrowding or harm vulnerable areas. Always seek permission before photographing or filming artwork, performances, or people. Refrain from removing plants, rocks, or artifacts, as this disrupts the ecosystem. Use apps like Google Translate to communicate respectfully with diverse visitors. Share your experiences thoughtfully, emphasizing the importance of conservation. By being mindful of your documentation, you contribute to the park’s sustainability and inspire others to visit responsibly. Remember, capturing memories should never compromise the environment or the experience of others.