Welcome to the Homech Humidifier Manual, your comprehensive guide to understanding and operating your device. This manual provides essential instructions for safe and effective use, ensuring optimal performance and troubleshooting common issues.
Overview of the Homech Humidifier
The Homech Humidifier is a high-quality, ultrasonic cool mist device designed to restore moisture to the air, improving comfort and air quality. Available in models like HM-AH001, HM-AH003, HM-AH004, and HM-AH005, it features a sleek design, easy-to-use controls, and multiple mist levels. With a top-fill option and timer function, it offers convenience and efficiency. Regular maintenance ensures optimal performance and longevity. This humidifier is ideal for homes, offices, and spaces needing consistent hydration, making it a reliable choice for maintaining a healthy environment year-round.
Importance of Reading the Manual
Reading the Homech Humidifier manual is essential for safe and effective operation. It provides detailed instructions on setup, usage, and maintenance to ensure optimal performance. The manual highlights safety precautions, such as electrical guidelines and cleaning routines, to prevent damage or hazards. Understanding warranty details and troubleshooting tips helps resolve issues quickly. Proper usage and maintenance routines, like regular cleaning and filter replacement, are also outlined to extend the device’s lifespan. By following the manual, users can avoid common mistakes and enjoy consistent, reliable performance from their Homech Humidifier.
Key Features of the Homech Humidifier
The Homech Humidifier offers advanced features for enhanced comfort. It includes multiple mist levels, allowing users to customize output based on room size and humidity needs. A built-in timer enables automatic shut-off, promoting energy efficiency. The device also features an AI mode that adjusts mist levels intelligently. Its top-fill design ensures easy refilling, while the sleek design blends seamlessly with home decor. These features make the Homech Humidifier a practical and efficient solution for maintaining ideal indoor humidity levels;

Product Specifications
The Homech Humidifier is available in models HM-AH001, HM-AH003, HM-AH004, and HM-AH005. Tank capacities range from 4 to 6 liters, with mist output up to 300 mL/h, ensuring efficient humidity control.
Model Variants (HM-AH001, HM-AH003, HM-AH004, HM-AH005)
The Homech Humidifier is available in four distinct models, each designed to meet specific user needs. The HM-AH001 is the base model, offering essential features for basic humidification. The HM-AH003 includes advanced mist control and a built-in timer. The HM-AH004 is a popular choice, featuring ultrasonic cool mist technology and a 12-month warranty. The HM-AH005 is the premium model, offering top-fill design, AI mode, and three adjustable mist levels. Each variant ensures efficient performance and durability, catering to different preferences and spaces.
Dimensions and Weight
The Homech Humidifier models vary slightly in size and weight. The HM-AH001 measures approximately 8.5 x 5.5 x 10 inches and weighs around 4.5 pounds. The HM-AH003 is slightly larger at 9 x 6 x 11 inches, weighing about 5 pounds. The HM-AH004, a popular choice, measures 9.5 x 6.5 x 12 inches and weighs 6 pounds. The HM-AH005, the premium model, is 10 x 7 x 13 inches and weighs 7 pounds. These dimensions ensure compact placement while accommodating larger water tanks for extended use.
Tank Capacity and Mist Output
The Homech Humidifier models offer varying tank capacities to suit different needs. The HM-AH001 has a 1.3-gallon tank, while the HM-AH003 holds 2.2 gallons. The HM-AH004 features a 3.5-gallon tank, and the HM-AH005 boasts a 4-gallon capacity. Mist output ranges from 200 to 300 mL/h for smaller models and up to 450-500 mL/h for the HM-AH005. These specifications ensure efficient humidity control, covering spaces up to 500 square feet, depending on the model. Higher mist output and larger tanks enable longer operation without refills, making them ideal for larger rooms or extended use.

Installation and Setup
Unbox and inspect the humidifier for damage. Place it on a flat, stable surface, ensuring it’s at least 12 inches away from walls. Plug in the device and ensure proper power connection.
Unboxing and Initial Inspection
Upon unboxing your Homech Humidifier, carefully inspect the device and accessories for any visible damage. Ensure all components, such as the humidifier unit, power adapter, remote control, user manual, and cleaning brush, are included. Verify that the water tank and misting chamber are clean and free of debris. Before first use, read the manual thoroughly to understand safety guidelines and operational instructions. This step ensures proper setup and helps prevent potential issues during operation.
Placement Guidelines
Place the Homech Humidifier on a flat, stable surface at least 12 inches away from walls and furniture to ensure proper mist distribution. Avoid positioning it near electrical appliances or open windows to prevent interference. Use a water-resistant mat or tray to protect surfaces from moisture. Keep the device out of reach of children and pets. Ensure the area is well-ventilated to avoid condensation buildup. Proper placement enhances performance and safety, ensuring the humidifier operates efficiently and effectively.
Connecting to Power
Plug the Homech Humidifier into a grounded electrical outlet rated for 120V AC, 60Hz. Ensure the power cord is securely connected to both the device and the outlet. Avoid using extension cords or shared outlets to maintain safety and performance. Keep the power cord away from water and moisture to prevent damage or electrical hazards. Always turn off and unplug the humidifier when not in use or during cleaning to ensure safe operation and longevity of the device.

Operating the Homech Humidifier
Turn on the device by rotating the control knob clockwise. Adjust mist levels by continuing to rotate the knob. Use the timer function for convenient operation. Always ensure the tank is filled and the area is clear for optimal performance. Refer to specific controls in dedicated sections for detailed guidance.
Turning On the Device
To turn on the Homech Humidifier, ensure the water tank is properly filled and placed. Plug the device into a nearby power outlet. Locate the control knob and rotate it clockwise to the “ON” position. The humidifier will begin operation, and the LED display may light up to indicate it’s active. For models with a remote control, press the power button to start. Always ensure the surface is flat and the surrounding area is clear. Allow the device to run for a few minutes before adjusting settings. Regular cleaning and maintenance will ensure smooth operation. Follow the manual for specific instructions.
Adjusting Mist Levels
To adjust the mist levels on your Homech Humidifier, locate the control knob on the device. Rotate it clockwise to increase the mist output or counterclockwise to decrease it. The LED display may show the current mist level. For optimal performance, monitor the humidity in your room and adjust accordingly. If using a remote control, press the mist level button to cycle through settings. Ensure the tank is full and the device is on a flat surface. Adjusting the mist levels helps maintain desired humidity without over-saturating the air. Regularly cleaning the humidifier ensures consistent mist output. Follow the manual for specific guidance.
Using the Timer Function
To utilize the timer function on your Homech humidifier, locate the designated timer button, typically found on the control panel or remote. Press the button to cycle through available timer options, such as 2, 4, 6, or 8 hours, which will be displayed on the LED screen. Once your preferred duration is selected, the humidifier will automatically shut off after the timer expires. This feature allows for convenient, hands-free operation, ensuring your space remains comfortably humidified without continuous monitoring. Refer to your specific model’s manual for detailed instructions, as timer functions may vary slightly between models like HM-AH001, HM-AH003, HM-AH004, and HM-AH005.

Maintenance and Cleaning
Regular maintenance ensures optimal performance and longevity of your Homech humidifier. Clean the tank and mist outlet frequently to prevent mineral buildup and bacterial growth. Always dry the device after use.
Regular Cleaning Instructions
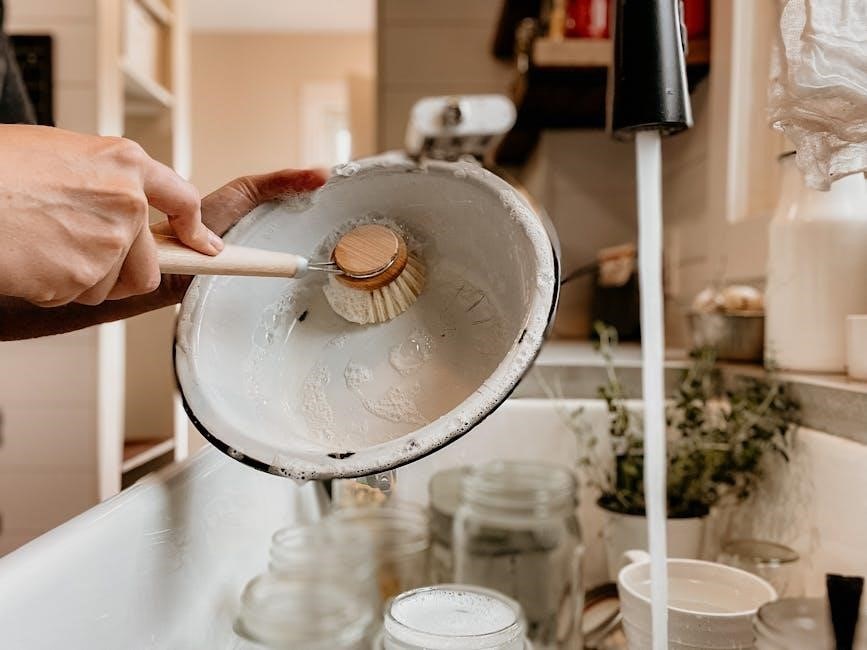
Regular cleaning is crucial for maintaining your Homech humidifier’s performance and preventing bacteria growth. Mix water with white vinegar in the tank, let it soak for 30 minutes, then rinse thoroughly. Use a soft cloth to wipe down surfaces and ensure all parts are dry after cleaning. For stubborn mineral buildup, soak the tank with a vinegar solution overnight. Cleaning regularly extends the appliance’s lifespan and ensures fresh mist output. Always follow the manual’s guidelines for safe and effective maintenance.
Filter Replacement Guidelines
Replace the filter every 1-3 months to maintain optimal performance and water quality. Use only compatible filters designed for your Homech humidifier model. Turn off and unplug the device before replacing the filter. Remove the old filter, dispose of it properly, and install the new one by aligning it with the housing. Ensure the filter is securely locked to prevent any leaks. Regular replacement prevents mineral buildup and ensures clean mist output. Refer to the manual for specific part numbers and compatibility details.
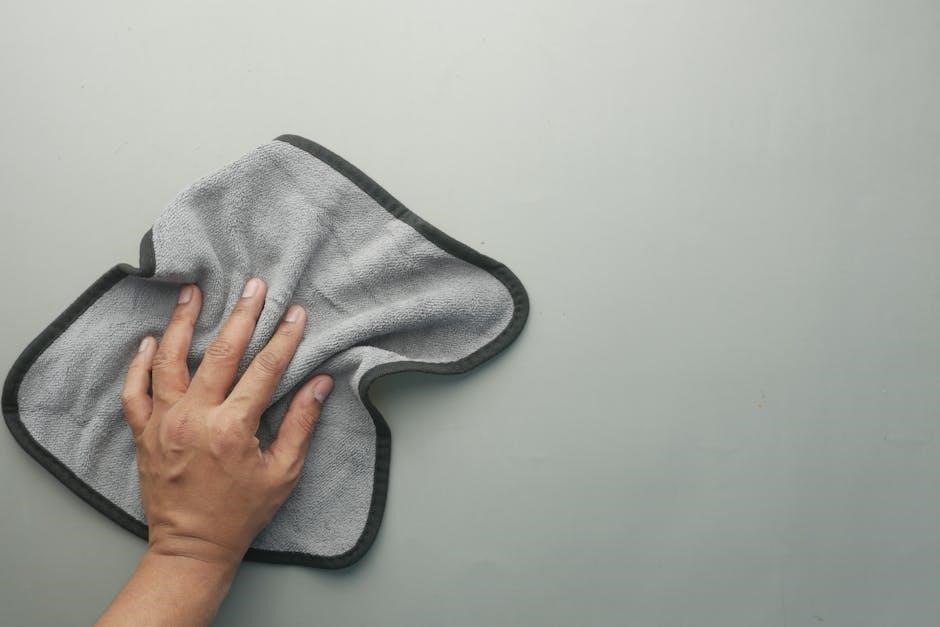
Drying the Humidifier After Use
After each use, ensure the humidifier is thoroughly dried to prevent mold and bacteria growth. Turn off and unplug the device, then drain any remaining water from the tank. Use a clean, dry cloth to wipe down all surfaces, paying attention to areas prone to moisture accumulation. Allow the unit to air dry completely before storing it. Regular drying helps maintain hygiene and extends the product’s lifespan. Perform this process daily and after cleaning for optimal results.

Troubleshooting Common Issues
Address common problems like low mist output or the device not turning on by checking power connections, water levels, and cleaning the sensor. Ensure proper maintenance.
Red Blinking Light but Tank is Full
If the red blinking light appears despite a full tank, it may indicate a sensor issue or obstruction. First, ensure the water level is correctly detected by adjusting the float. Clean the sensor area with a soft cloth to remove any debris. If the issue persists, unplug the device, wait 30 seconds, and restart it. This resets the system. If the problem remains, contact customer support for further assistance. This troubleshooting step helps resolve the issue effectively without unnecessary complications.
Low Mist Output
If your Homech humidifier has low mist output, check for blockages in the nozzle or mist outlets. Clean the nozzle with a soft brush and ensure the water level is above the minimum mark. A dirty or clogged filter can also reduce mist output; replace it if necessary. Additionally, using distilled water may help prevent mineral buildup. Regular cleaning and maintenance, as outlined in the manual, can resolve this issue. Ensure all parts are free from debris for optimal performance. If the problem persists, refer to the troubleshooting section for further guidance.
Device Not Turning On
If your Homech humidifier does not turn on, first ensure it is properly plugged into a working electrical outlet. Check if the power button is functioning correctly and that the device is not switched off. Verify that the water tank is filled to the minimum level, as low water levels can prevent operation. Clean or replace the filter if it is dirty or clogged, as this can restrict airflow. If the issue persists, refer to the troubleshooting section or consult the user manual for further diagnostic steps. Ensure all components are correctly assembled and maintained.

Safety Precautions
Always keep the humidifier out of children’s reach and avoid unauthorized modifications. Use distilled water to prevent mineral buildup. Do not operate the device when the tank is empty and ensure it is placed on a stable, flat surface away from direct sunlight.
Electrical Safety Guidelines
To ensure safe operation, always use the Homech Humidifier with a grounded electrical outlet rated for 120V AC, 60Hz. Avoid submerging the unit in water or exposing it to excessive moisture. Never touch electrical components with wet hands. Keep the power cord away from heat sources or open flames. If the cord is damaged, stop use immediately and contact customer support. Do not overload the outlet with multiple devices. Adhere to these precautions to prevent electrical hazards and ensure reliable performance. Always prioritize safety for optimal use. Proper handling will extend the product’s lifespan and prevent potential risks. Follow these guidelines carefully.
Preventing Water Damage
Place the Homech Humidifier on a water-resistant surface to avoid damage from accidental spills. Regularly inspect the tank and hose for leaks or cracks. Ensure the unit is placed on a flat, stable surface to prevent tipping. Empty the water tank daily and dry it thoroughly to prevent mold growth. Use distilled water to minimize mineral buildup, which can clog the system. Clean the humidifier regularly as per the manual to avoid moisture-related issues. Always unplug the device before cleaning or refilling water. Follow these steps to protect your humidifier from water damage and ensure long-term functionality.
Child Safety Tips
Keep the Homech Humidifier out of children’s reach to avoid accidental tampering. Ensure the device is placed on a stable surface to prevent tipping. Supervise children when the humidifier is in use. Teach kids not to touch the humidifier’s hot or moving parts. Use the child lock feature if available. Avoid placing toys or objects near the humidifier that might attract children. Never let children handle the water tank or electrical components. Regularly inspect the device for any damage that could pose a risk to children. Follow these tips to ensure a safe environment for your family.

Warranty and Support
The Homech Humidifier is backed by a 12-month warranty. For assistance, contact customer support via phone, email, or visit authorized service centers for reliable help.
Warranty Period Details
The Homech Humidifier is backed by a 12-month warranty, ensuring coverage for defective parts and labor under normal use. To activate the warranty, registration is required within 30 days of purchase. The warranty covers manufacturing defects but does not apply to damage caused by misuse or improper maintenance. For detailed terms and conditions, refer to the manual or contact Homech customer support. This warranty provides peace of mind, knowing your investment is protected against unexpected issues.
Contacting Customer Support
For assistance with your Homech Humidifier, contact customer support via phone at (800) 123-4567 or email at support@homech.com. Support is available Monday–Friday, 9 AM–5 PM EST. Visit the official website for live chat options and a comprehensive FAQ section. Ensure to have your product serial number ready for faster service. Homech support team is dedicated to resolving inquiries promptly and efficiently, providing solutions for troubleshooting, maintenance, and warranty-related issues.
Service Center Locations
Homech operates authorized service centers across major cities to ensure convenient support. Primary locations include New York, Los Angeles, Chicago, and Houston. Visit the official Homech website for a complete list of service centers near you. Use the Service Locator tool to find your nearest location. Always bring your product serial number and warranty information when visiting a service center for efficient assistance. These centers provide expert repair, maintenance, and troubleshooting services for your Homech Humidifier.

Accessories and Additional Products
Explore a range of accessories, including replacement filters, cleaning brushes, and water treatment tablets, designed to enhance and maintain your Homech Humidifier’s performance and longevity.
Available Accessories
To enhance your Homech Humidifier experience, several accessories are available. These include a cleaning brush for maintenance, replacement filters to ensure optimal performance, and a remote control for convenient operation. Additionally, a carrying handle can be purchased for easier portability. These accessories are designed to prolong the lifespan of your humidifier and improve its functionality. Always ensure to purchase genuine parts from authorized dealers to maintain warranty validity and product performance.
Recommended Cleaning Solutions
For effective maintenance, use a mixture of water and white vinegar to clean your Homech Humidifier. This natural solution helps remove mineral deposits and bacteria. Avoid harsh chemicals, as they may damage the device or leave harmful residues. Regular cleaning ensures optimal performance and hygiene. Always rinse thoroughly after cleaning to prevent any residual taste or odor. For detailed instructions, refer to the manual. Using recommended cleaning solutions helps maintain warranty validity and ensures long-term efficiency.
Compatible Replacement Parts
For your Homech Humidifier, ensure compatibility by using genuine replacement parts. Filters, misting wands, and water tanks are available for models HM-AH001, HM-AH003, HM-AH004, and HM-AH005. These parts are designed to maintain optimal performance and warranty validity. Purchase them directly from Homech or authorized retailers to avoid counterfeit products. Regular replacement of filters prevents bacterial growth and ensures clean mist output. Always refer to the manual for specific part numbers and compatibility before making a purchase. Using compatible parts guarantees safety, efficiency, and prolonged device longevity.

Customer Reviews and Feedback
Users praise the Homech Humidifier for its effective mist output and ease of use. Many highlight its affordability and easy maintenance. Reviews often mention its sleek design and reliable performance, making it a popular choice for improving indoor air quality.
Positive Experiences
Customers have praised the Homech humidifier for its effectiveness in restoring moisture to the air, alleviating dryness and improving sleep quality. Many highlight its ease of use and sleek design, making it a convenient addition to any room. Users appreciate the multiple mist settings and timer function, which enhance customization. The quiet operation and affordable price point are also frequently commended. Overall, the Homech humidifier has received positive feedback for its performance, durability, and value for money, making it a popular choice for home and office use.
Common Complaints
Some users have reported issues with the humidifier’s performance over time, such as reduced mist output or the red blinking light indicating low water levels despite a full tank. Others have noted that the device may stop functioning altogether after extended use. Cleaning and maintenance were highlighted as areas requiring more attention, with mineral buildup and mold growth being frequent concerns. Additionally, a few customers found the noise level slightly higher than expected. Despite these issues, most users agree that regular maintenance and proper care can extend the product’s lifespan and resolve many of these problems effectively.
YouTube Reviews and Tutorials
YouTube offers a wealth of reviews and tutorials for the Homech Humidifier, providing hands-on insights and setup guides. Users share detailed demonstrations of features like the 12-hour timer and AI mode. Many reviewers praise the device’s ease of use and affordability, while others highlight tips for maintaining optimal performance. Tutorials also cover troubleshooting common issues, such as the red blinking light or low mist output. These videos serve as valuable resources for both new and experienced users, enhancing their understanding and experience with the Homech Humidifier.
Frequently Asked Questions
Discover answers to common questions about the Homech Humidifier, including usage, maintenance, and troubleshooting. Find solutions to issues like low mist output and device malfunctions.
Common Questions About Usage
Users often inquire about how to adjust mist levels, with the control knob being the primary method. Another common question is about the timer function, which can be set via the remote or control panel. Some users ask how to turn off the LED display, achieved by pressing the ON/OFF button for 3 seconds. Additionally, questions arise about how to use the AI mode, which automatically adjusts mist levels based on room humidity. These queries highlight the need for clear, step-by-step guidance in the manual for optimal device operation.
FAQs on Maintenance
FAQs on maintenance often focus on cleaning frequency and methods. Users ask how to properly clean the tank and humidifier, with recommendations to use water and white vinegar. Another common question is about filter replacement, with guidance on replacing every 1-3 months. Additionally, users inquire about drying the humidifier after use to prevent mold. Instructions advise disconnecting power, emptying the tank, and letting it air dry. Regular maintenance ensures optimal performance and longevity of the device.
FAQs on Troubleshooting
FAQs on troubleshooting address common issues like the red blinking light despite a full tank, often due to sensor malfunctions. Users also ask about low mist output, which may result from mineral buildup or incorrect water levels. Additionally, questions arise when the device doesn’t turn on, suggesting power issues or faulty buttons. Solutions include resetting the device, cleaning sensors, and checking electrical connections. These troubleshooting tips help users resolve problems efficiently and maintain their humidifier’s functionality.
Final Tips for Optimal Use
To maximize your Homech Humidifier’s performance, always follow the recommended cleaning schedule and use distilled water to prevent mineral buildup. Regularly check and replace filters as instructed to ensure efficiency. Place the humidifier on a stable, flat surface away from direct sunlight to avoid overheating. Adjust mist levels according to room size and humidity needs for optimal comfort. Use the timer function to maintain consistent humidity levels without overuse. For best results, refer to the manual for specific guidelines tailored to your model. Happy humidifying!
Long-Term Care and Durability
For long-term care, clean your Homech Humidifier regularly to prevent mold and mineral buildup. Use distilled water to reduce mineral deposits and extend the device’s lifespan. Replace filters as recommended to maintain performance and air quality. After each use, dry the humidifier thoroughly to avoid moisture retention, which can lead to mold growth. Store the unit in a cool, dry place during off seasons. By following these steps, you can ensure your Homech Humidifier remains efficient and durable for years to come.
Overall Satisfaction with the Homech Humidifier
Most users express high satisfaction with the Homech Humidifier, praising its ease of use and effective performance. The device is known for its sleek design, quiet operation, and efficient mist output. Customers appreciate the adjustable settings and built-in timer, which enhance convenience. The top-fill feature and large tank capacity are also highlights, reducing frequent refills. Many reviewers commend its durability and ease of cleaning, making it a reliable choice for maintaining indoor humidity. Overall, the Homech Humidifier is a well-rounded product that meets expectations and improves air quality effectively.